Do you ever hear about the sales funnel? if not this article about How to build a sales funnel in WordPress for free is for you. Also, if you have a Woocommerce web store run by WordPress you can easily create a WordPress sales funnel.
What is the WordPress Sale Funnel?
Basically, the sales funnel is the process of buying a product online. This is the give a better user experience to buyers when they come to your website landing page.
When a visitor comes to your website by clicking a link or googles ads, from social channels or Google ad. They are landing on the product page on your website.
This page is the landing page, here you can grab their attention to other related products by order bump, upsell and down-sell with one-time offers, coupons, discounts, etc.
So, these processes between the page landing and payment are sales funnel. Which include simply four steps
How do WordPress sales funnels work?
- Attention: To grab the potential visitor to your product this is the basic step, you can make this by google search or ads, social channels ads., or any other types of marketing.
- Interest: After visitors land on your product page, retain them on this landing page by offering various types of services or discounts in this step of the sales funnel.
- Decision: In this stage of the WordPress sales funnel, they take a decision to buy your product or service. Ideally, they will add it to their virtual cart and proceed to checkout.
- Action: In this final step, You can earn a paying customer. During the whole process, the visitor experienced that they were communicating with a human. And there will be a chance they coming back to you.
How do I create a sales funnel in WordPress?
Creating a WordPress sales funnel is very easy. You can build the sales funnel with the WordPress sales funnel plugin.
Basic plugin for build sales funnel on WordPress
But keep in mind, if you are building a WooCommerce site from scratch it’s better to buy managed Woocommerce hosting.
Nexcess fully managed WooCommerce hosting is the best solution for your big online store of any size. This will offer you high performance on the cloud. You can build your store with their built-in StoreBuilder intelligence engine. Here in Nexcess, all tools build on Nexcess cloud infrastructure.
Now let’s dive into the WordPress sales funnel building process
After installation of the Woocommerce WordPress plugin. First complete your Woocommerce setups, such as adding products, adding payment gateway, and shipping options.
Watch the below video to learn how to build an online shopping cart with Woocommerce
After Woocommerce setup. Now install the Elementor Plugin the front-end WordPress page builder, then install the CartFlows WordPress sales funnel plugin
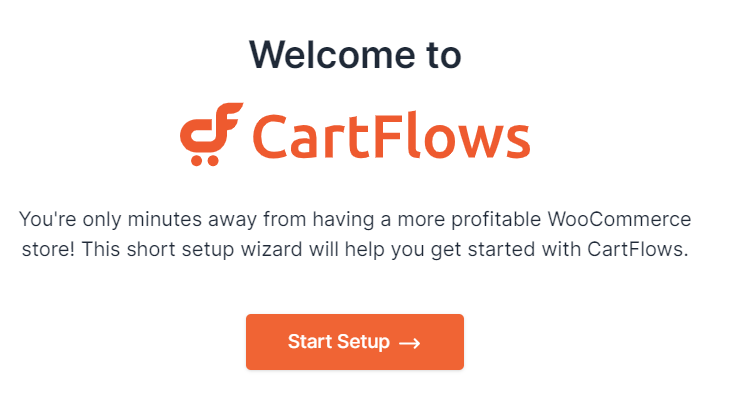
Cartflows plugin has the setup wizard you can setup the plugin by simply clicking on it

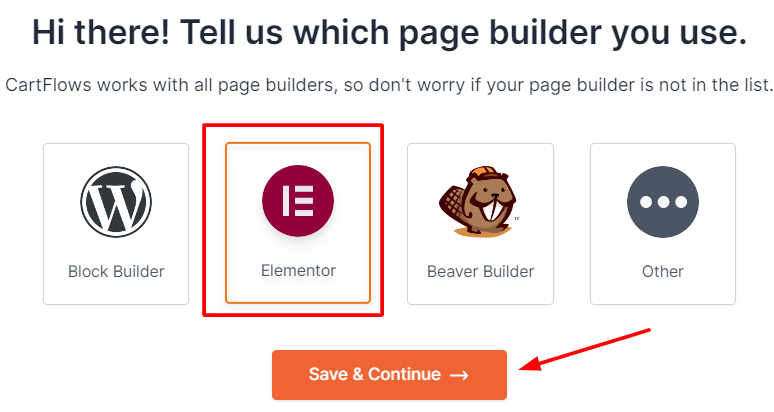
In this setup wizard select Elementor page builder
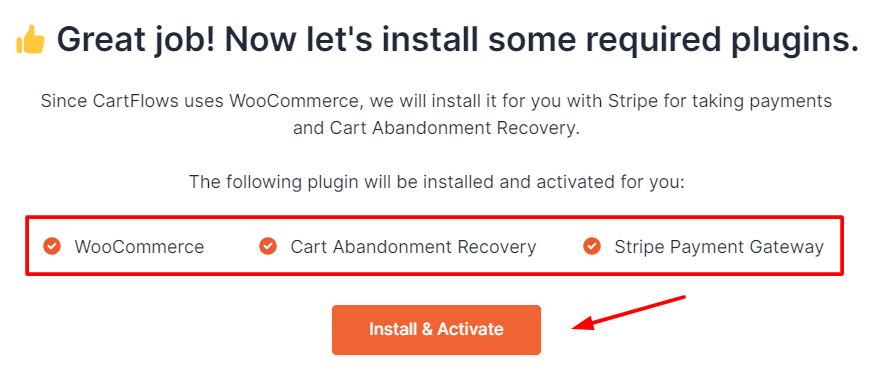
On the next screen on the setup wizard its shows you some required plugins, click on the “install & activate button”.
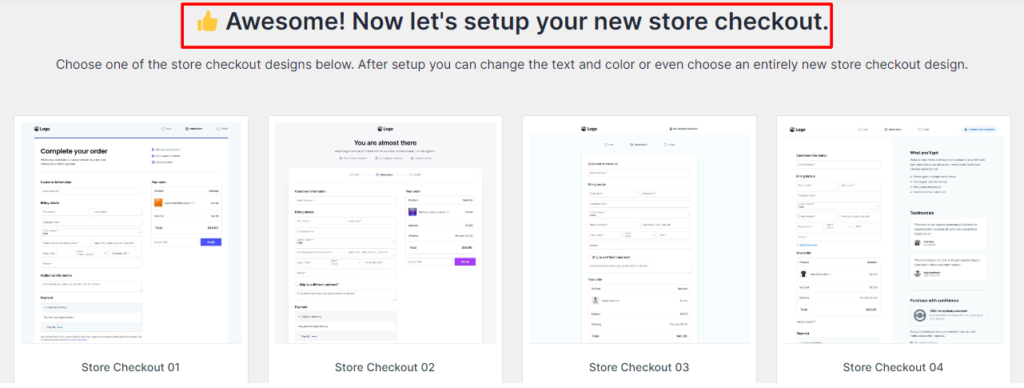
In the next step, it will ask you to select the store checkout design.
In addition after selecting store checkout design now, you can see the checkout layout. You can turn the checkout layout to your brand by adding your own brand logo and customizing the color.
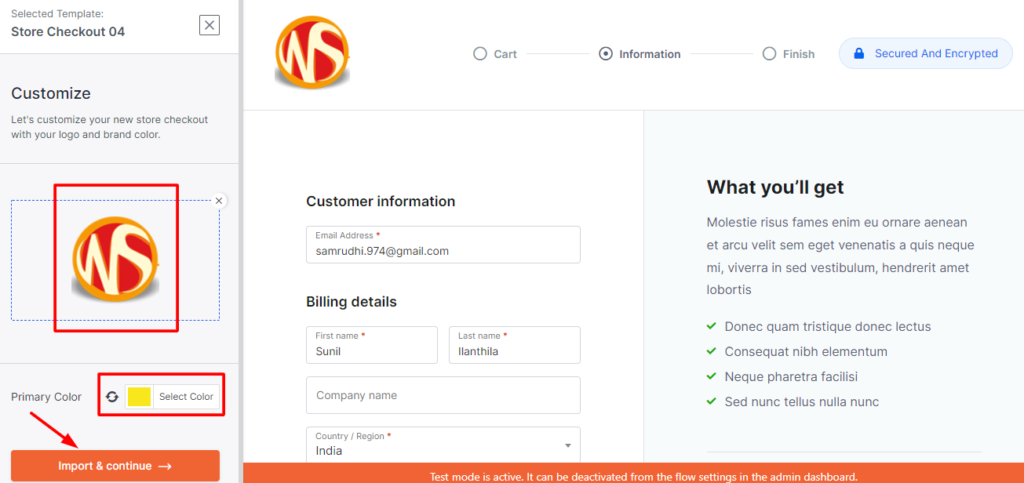
After customizing the checkout layout click on Import & continue.
And in the final step, it will ask you to enter your email address for sending an email report with key metrics and insights to you. That’s all now your CartFlows setup is finished.
Build your first WordPress sales funnel
Create your first flows. To create sales funnel you must have products on your Woocommerce store.
On the sidebar menu of WordPress dashboard, under CartFlows-Flows- click on add new
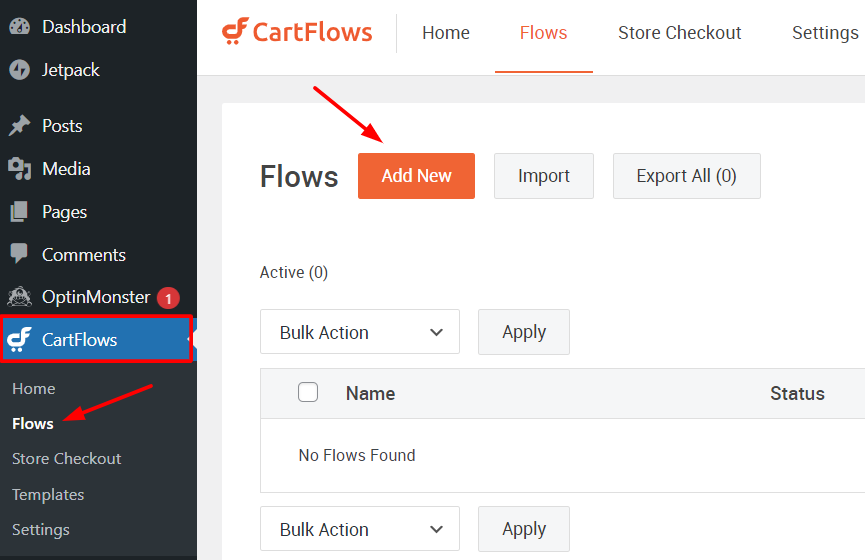
Select a pre-made flow template, click on template now you will see all steps of that flow template.

Now click on import flow, enter a name to flow then click on import flow. Now your new sales funnel is ready to customize.

Read our featured post for your best online business
- 5-things-about-flywheel-growth-suite
- WordPress-SEO-made-simple-semrush-free-trial
- Handcrafted-WordPress-contact-form-plugins-for-bloggers
After importing the flow now you can see the steps of a landing page, checkout page, and thank you page.
Here you can add new steps or move the steps by drag and drop interface

Here you can edit all fields as you want by clicking on the edit button. Add proper information on the landing page to grab the attention of visitors.
To edit the landing page click on the edit icon, now you will see all options there, then click on edit design, now it will take you to the Elementor page builder area.
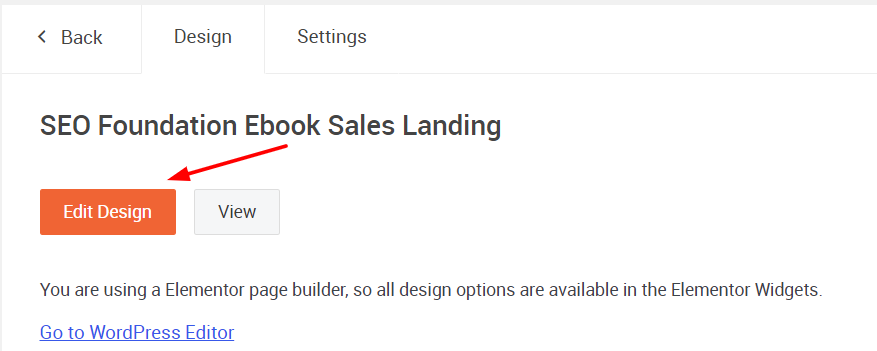
Elementor is one of the best page builders out there in the space. so you can easily edit your landing page with Elementor page builder.
After editing the landing page. Next, add a product to the checkout step
After entering check out step go to the products tab then click on add new product button and search for a product on the popup


Also, you can give a surprise discount to visitors if you are not entering a discount on the Woocommrece product page.
In addition, you can add multiple products. If you add more than one product, it is better to apply conditions to this purchase.
Under product options, you can restrict users to purchase all products, allow users select one product from all options, or allow users to select multiple products from all options.

Add an order bump to your cart
Here you can give a chance to visitors to ad an additional recommended product with a big discount to the cart. This product showed only on the checkout page with a single click.

Click on the + button, then give to order bump and add order bump, then click on the edit button now select the product, then give a discount.

In addition, next in the design tab select order bump skin type from drop down. Customize description text color, it’s good to enable the order bump pointing arrow
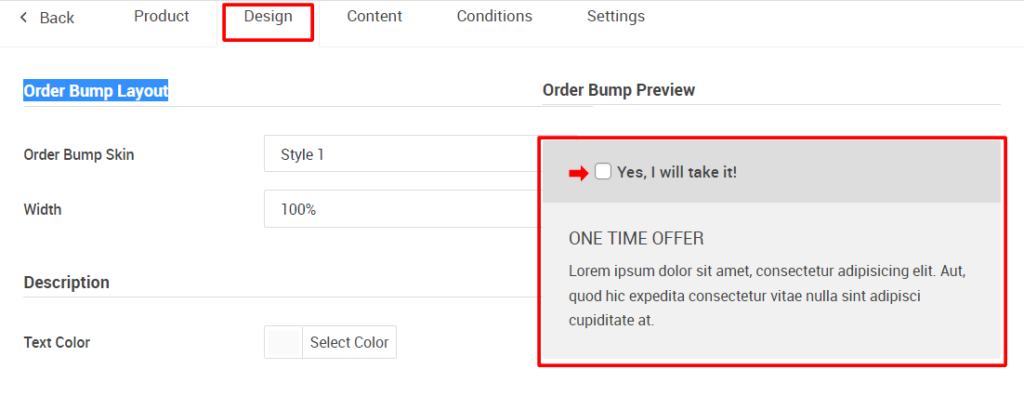
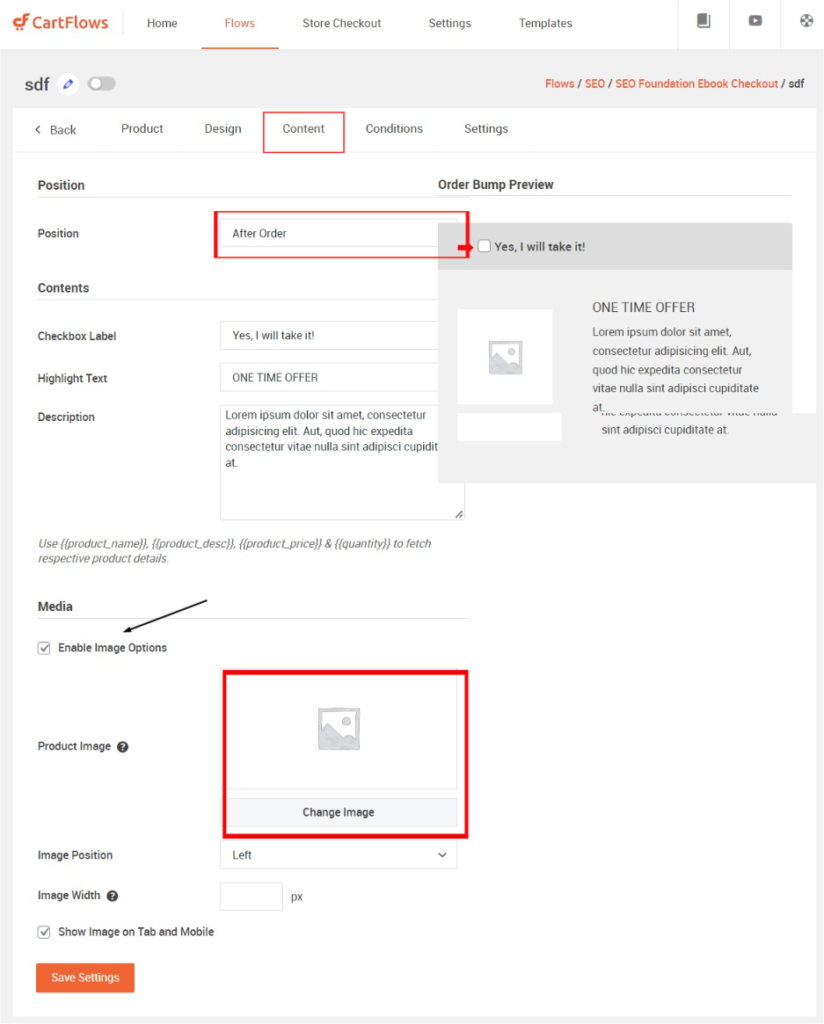
Also, set the order bump display box in the content tab. And a checkbox label heading, highlight text, and description. If you want to add an image to the order bump, enable the image options.
Additionally, if you want to add steps to this sales funnel. Click on add new step, here I am select upsell template.
By upselling, you can propose buyers add additional products with this purchasing process. After this, you can also add a new step the down-sell step. These types of upselling and downsell templates are designed beautifully you don’t need to design yourself, just customize the image and text with Elementor page builder.
Add a upsell to the WordPress sales funnel
To add a upsell step to the WordPress sales funnel, click on add a new step, under upsell template tab, import a template, after import the template will to your steps, but place it before thank you page and add a product to this step, and don’t forget to give a huge discount.
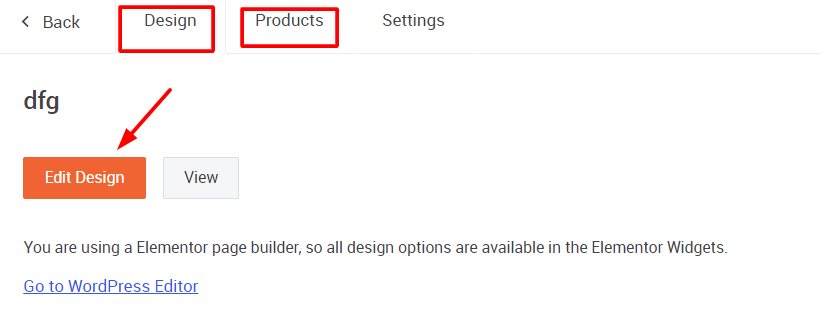
Furthermore, to add a product, click on the edit button on upsell step. Under the products tab, add a product to this step. select discount type, Please bear in mind, that this discount applies only to this sales funnel, not to this product in other places in your store. This is the exact benefit of the sales funnel. And as usual, edit the design of this upsell page on the Elementor page builder by clicking on the edit design button under the design tab.
WordPress sale funnel infographics
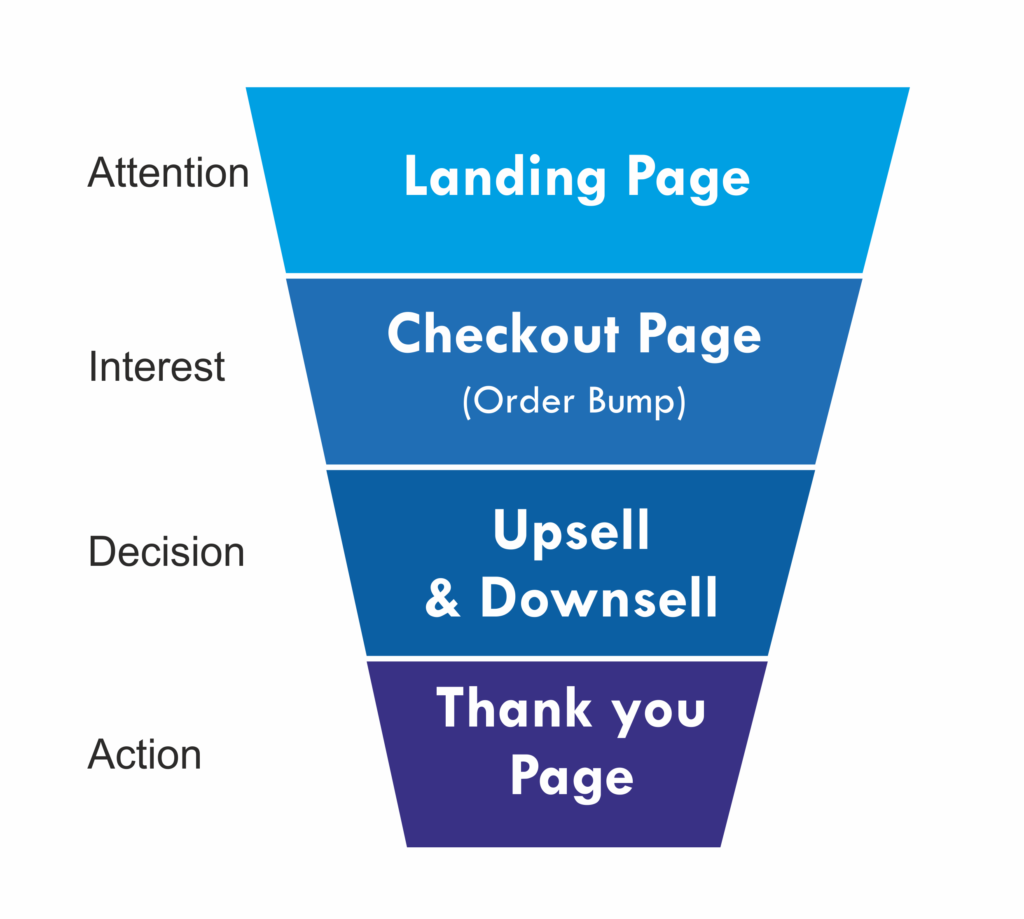
You can clearly understand the WordPress sales funnel simply by this infographic
- When a visitor clicks your link and lands on the landing page, here you succeed to grab their attention.
- Then he moves to the checkout page and they will see your order bump offer. This will hold their interest in your offer
- When they click on place order, It will lead them to additional offers such as upsell and downsell (Decision making time)
- After 3 or 4 steps you get a huge profit with one product land page multiple orders. Here you can show them all the order details and shipping addresses.
Analytics
Finally, you can analyze the performance of your flows by going to the analytics tab on every flow. This will help you to which flows better to promote more.
Conclusion
I hope you understand and are ready to implement this complicated CartFlows on your online store. All these things are can be done in only 5 steps and in 5 minutes.
In addition, If you need help implementing the WordPress sales funnel in your store I will be ready to help you. So, I am available here

